


Homeowners in Auburn, WA, are increasingly choosing heat pumps as a reliable and efficient heating and cooling solution. Unlike traditional furnaces or air conditioners, a heat pump system provides both warm and cool air, making it a smart investment for year-round comfort.
But before scheduling a heat pump installation, it’s important to know the steps involved, prepare your home, and follow a heat pump installation checklist. This guide helps ensure a smooth process and a quality installation that delivers long-term energy savings.
Why Homeowners Choose Heat Pumps
Heat Pump Installation Checklist: Heat pumps are gaining popularity for several key reasons:
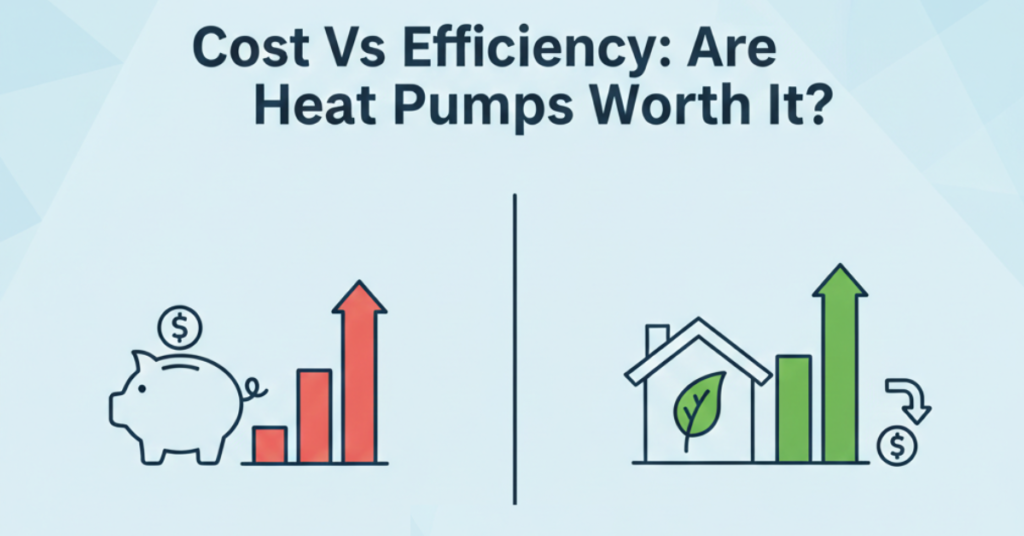
- Energy Efficiency – They consume less electricity than electric furnaces or baseboard heaters, helping improve energy efficiency ratings.
- Year-Round Comfort – The same system handles heating and cooling for every season.
- Eco-Friendly Performance – With fewer greenhouse gas emissions, they support renewable energy goals in Washington.
- Flexibility – Options include ductless mini-splits and ducted systems, making them suitable for both new and older homes.
For Auburn homeowners, where weather changes quickly, having the right system that adapts well is a major benefit.
Pre-Installation Considerations
Assessing Your Home’s Needs
Before selecting a system, consider your home’s size, layout, and insulation. Poor insulation leads to inefficiency and higher costs. A licensed HVAC contractor should perform a Manual J load calculation to determine the right system.
Choosing the Right Heat Pump
Not every type of heat pump is the same. Options include:
- Air Source Heat Pumps – Ideal for homes with existing ductwork.
- Ductless Heat Pumps (Mini-Splits) – Perfect for homes without ducts or when adding comfort to specific rooms.
Selecting the right system with proper efficiency ratings ensures optimal performance and long-term savings.
Budgeting and Rebates
Installation costs vary, but homeowners may qualify for rebates and incentives. A licensed heat pump installer can explain utility programs, warranty options, and ways to reduce upfront costs.
Heat Pump Installation Checklist
Here’s a step-by-step outline for a successful heat pump installation:
- Hire a Certified Contractor
A licensed HVAC technician ensures compliance with codes and protects your warranty. DIY installs often cause callbacks or void coverage. - Prepare Your Home
- Select the best location for units.
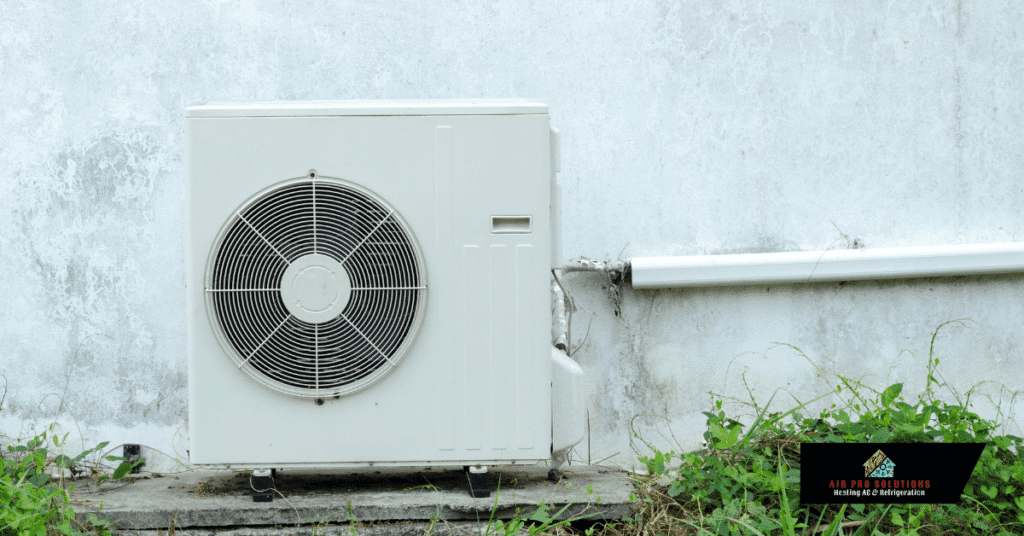
- Keep outdoor units clear for airflow.
- Make sure placement avoids noise problems.
- Electrical and Wiring
Every new heat pump installation requires proper wiring and voltage setup. Sometimes, adding a dedicated circuit or minor electrical upgrades is necessary. - Ductwork or Ductless Setup
- For ducted systems, inspect and seal ducts to prevent leaks.
- For ductless mini-splits, mount indoor air handlers and connect them to the outdoor unit.
- Installation Day Expectations
- A quality installation usually takes 1–2 days.
- Technicians may need frequent access inside and outside.
- Final unit setup ensures the best fit for your home.
- Testing and Commissioning
After installation, the contractor will:
- Measure refrigerant levels.
- Verify thermostat function.
- Commission the system for optimal performance.
- Homeowner Walkthrough
A professional heat pump installer will explain how to operate the system, check filters, and schedule regular cleaning and repair services.
Post-Installation Maintenance Checklist
To maintain quality heat pump installation results, follow these best practices:
- Cleaning and Filter Replacement – Change filters every 1–3 months.
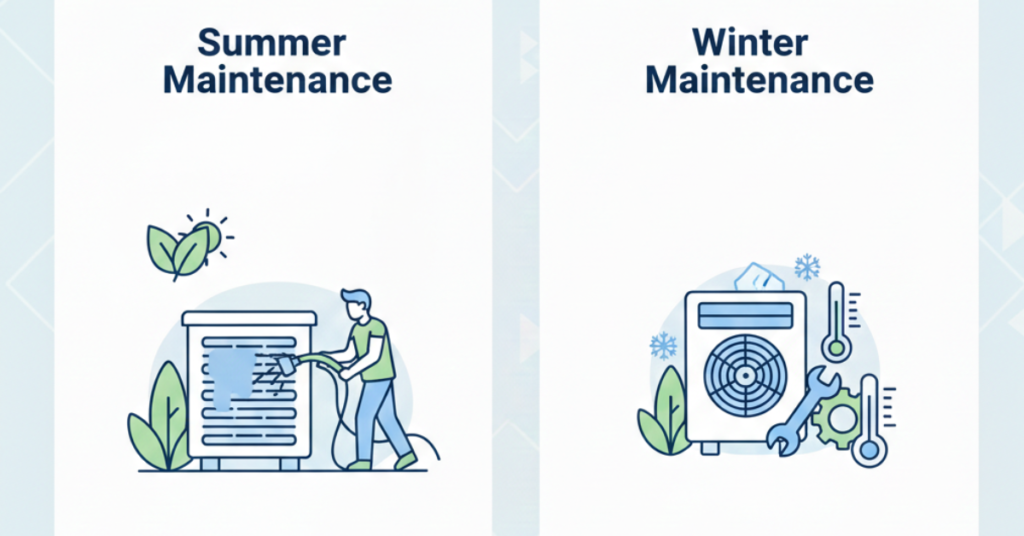
- Inspect Outdoor Units – Keep them free from snow, leaves, and moisture buildup.
- Schedule Regular Service – Annual HVAC maintenance catches issues early.
- Monitor Utility Bills – Spikes may signal a leak or poor performance.
Common Mistakes to Avoid
- Choosing the Wrong Size – Oversized or undersized units affect efficiency.
- Skipping Professional Installation – Poor installs lead to inefficiency and repairs.
- Ignoring Duct Leaks and Insulation – Even the best appliance can’t perform in a poorly sealed home.
- Neglecting Maintenance – Skipping tune-ups reduces energy savings and shortens system lifespan.
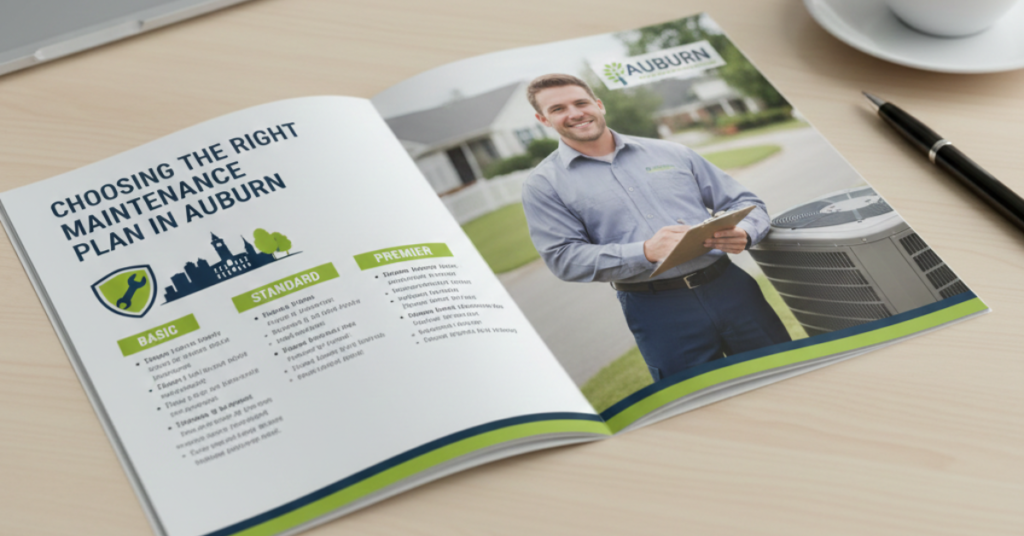
Why Auburn Homeowners Trust Air Pro Solutions
- Committed to Quality – Every project follows industry best practices.
- Certified Contractors – Licensed professionals certify work and provide warranty-backed service.
- Honest Service – Clear pricing without unnecessary upsells.
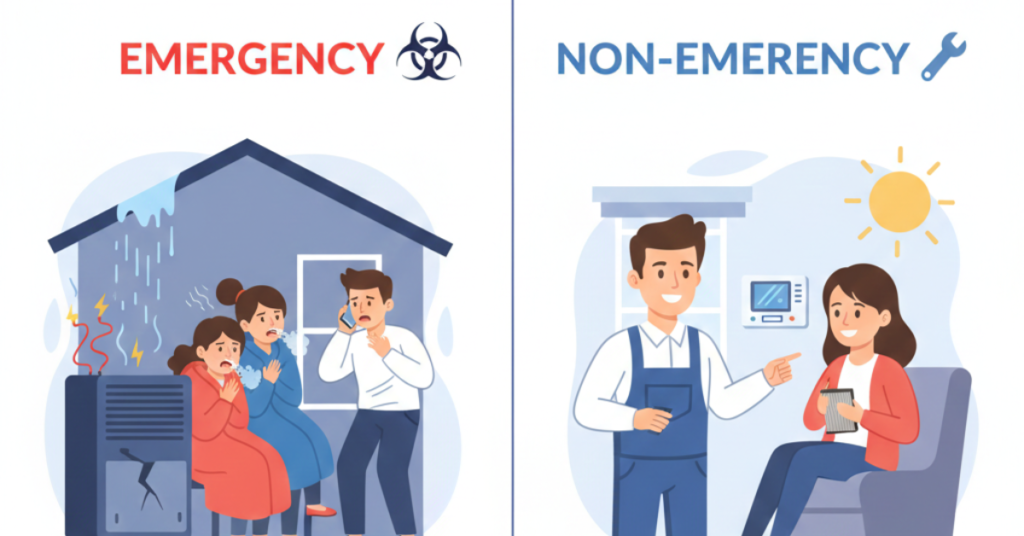
- Emergency Service – Available when heating or air conditioning needs are urgent.
Conclusion
A heat pump installation is a smart upgrade for Auburn homeowners, but success depends on preparation and working with the right installer. By following this heat pump installation checklist, you’ll ensure the heat in winter, cool air in summer, and year-round comfort with fewer callbacks or repairs.
If you’re ready to installing a new heat pump, call Air Pro Solutions today for a consultation. Our licensed team is committed to quality and helping you achieve lasting comfort with the right heat pump installation process.
Follow Air Pro Solutions LLC on Instagram